Showing posts with label nails. Show all posts

Thursday, December 12, 2013

Walking in a winter wonderland...


So I recently acquired some new nail polishes from the clothes show and I was in the mood to come up with some new combinations, as I haven't gone glittery and over the top with my nails for ages! For my base colour I used Barry M Silver (288), I had hoped that this would apply like liquid silver, however it didn't. It took about three coats to build up a nice silver. Then on top I applied Models Own Show Stopper 2 (clothes show edition), which I'm in love with. Its got a really strong smell to it, it reminds me of petrol/varnish...might not appeal to a lot of people..but I could have sat and smelt it for days! Don't know why that's important, just thought i'd let you know! I applied two coats of this just so it was nice and even. And I personally think it looks lovely, in the daylight it look exactly like the last photo, very sparkly! 

Definitely want to try more models own glitter polishes, which are your favorites?

Charlie
xo


Monday, August 06, 2012

Nails of the Week Featuring L.A Colours Varnish

Hey guys!
So yes it has been a while since my last post! I don't know what's wrong with me, I can't seem to stick to a schedule! 
But today I thought I would ease back in with a nail post, I'm just going to be showing you what I plan on wearing on my nails for the next week and what products I used!


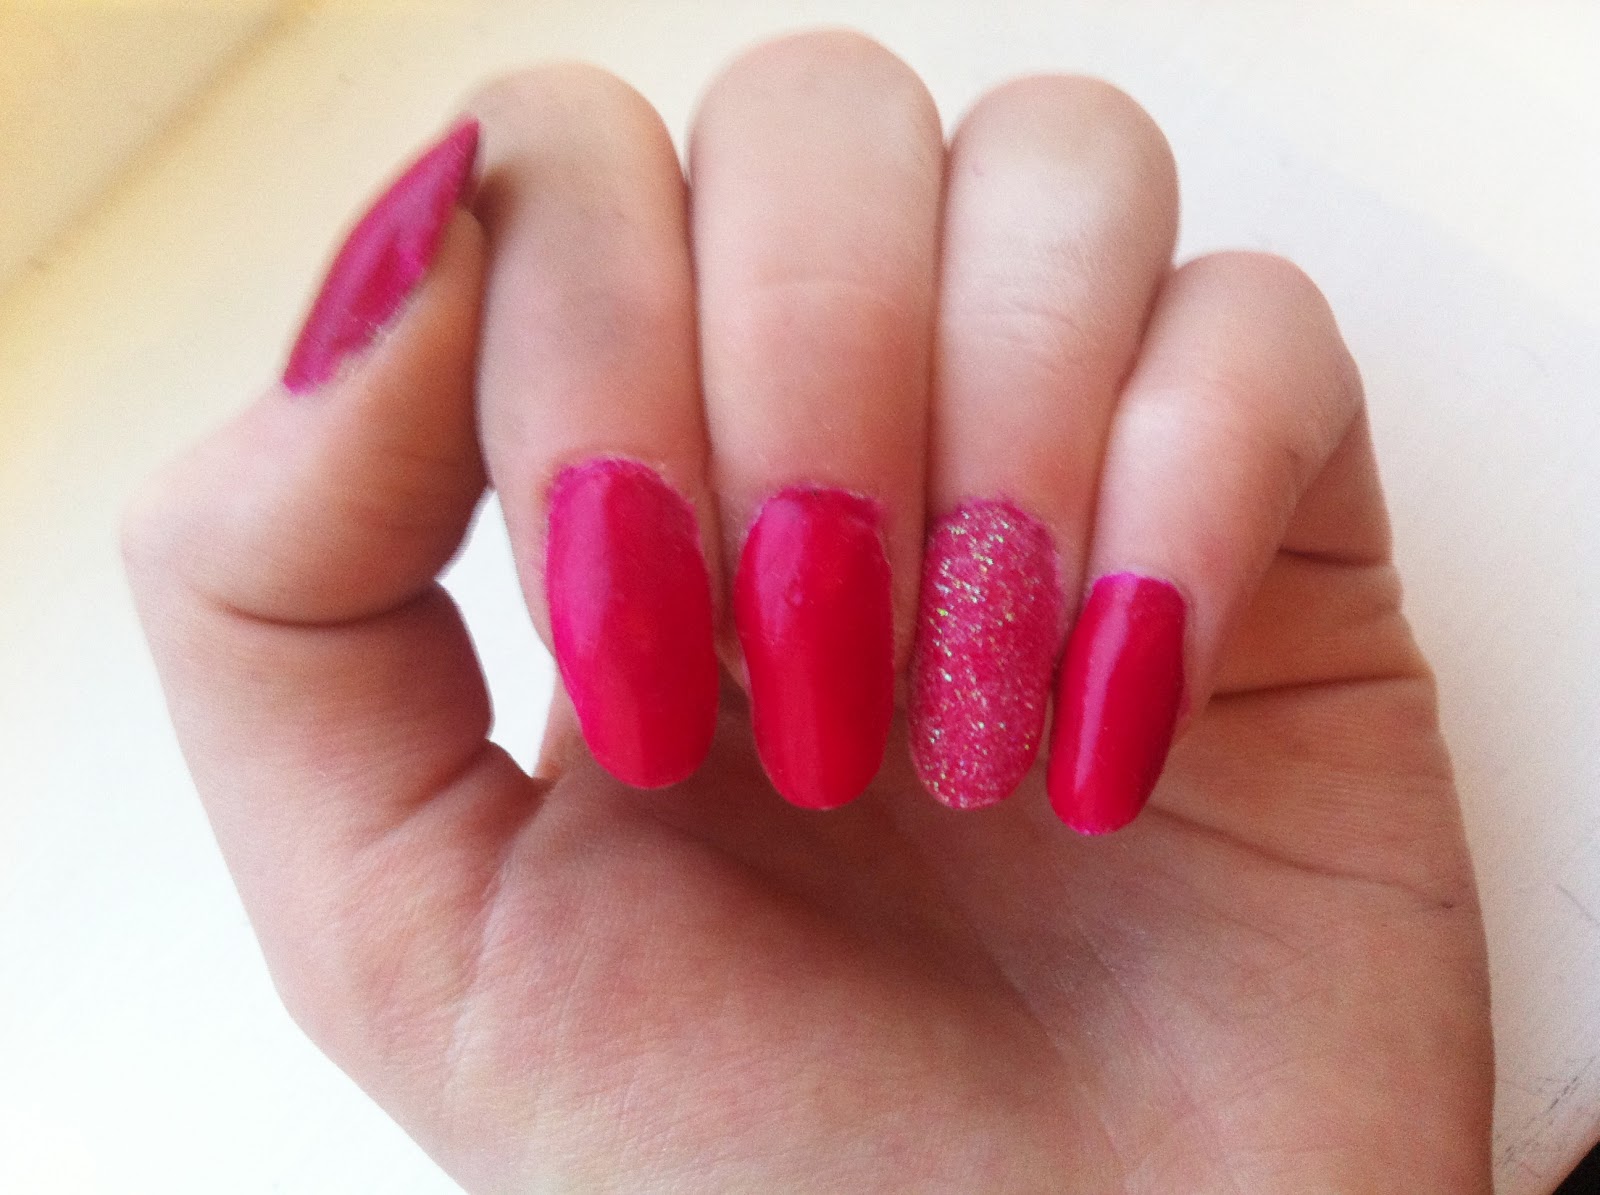
So these are the products I used. I used an L.A Colours Nail Varnish in Figi Purple, this nail varnish also has a built in nail harder which i can vouch for. I also used a little pot of nail glitter on my ring finger over the top of the nail varnish.


So this is what they looked like finished. Just to clarify I am wearing acrylic nails, I did originally have the colour on my natural nails but I ripped half of one of my nails off at work and I cant stand the feeling of a broken nail so I put my acrylics on! In the previous photo I referred to the nail harder that is built into the nails varnish and you can definitely tell, when I had it on my natural nails they definitely felt a lot stronger. My nails were quite weak feeling before I applied the nail varnish because I was previously wearing some false nails and the glue damages them! Oh and the L.A colour nail varnish is super fast drying, one of the fastest drying nail varnishes I've tried in a long time. And as for the glitter on my ring finger all I did was sprinkle it over the wet nail varnish then put a clear top coat over the top of it :)

I think these nail varnishes retail for 99p which in my eyes is an absolute bargain. I did not purchase this nail varnish, I in fact saw my mum using it and asked her if I could try it and I'm very glad that I did! It is brilliant.

So even though this was only meant to be me showing you my nails for the week, I've actually ended up giving you a small review! So all in all, I hope you like this post and I would definitely recommend the nail varnish I used. Definitely going to be trying more colours!! 


Monday, March 19, 2012

Simple Leopard Print Nails!

So again I got this tutorial off 'cutepolish' on YouTube and I thought I would show you how mine came out and what I did!


1. Paint nails a base colour, a colour a bit browner than the one I used would be better!
2. Then randomly paint some dots with a brown nail varnish
3. And finally paint some lines around the brown dots with some black nail varnish as well as some little black messy dots by themselves.
4. Finish with a clear coat.


This is really really easy to do and just to prove it, above is a picture of my right hand and we all know how hard it is to paint your nails with your left handed if you're not usually that handed.

Tuesday, March 13, 2012

NOTD: Dotty and Diagonal

So I thought I would do a quick post showing you my nails! I've named the post nails of the day, but these will probably nails of the week. I got this tutorial off 'cutepolish' which is a YouTube channel of a lovely girl who post tons of easy nail tutorials although you probably already watch her anyway! But I'll quickly talk you through what I did!


1. Diagonally place sellotape across your nails.
2. Paint nail black, I did two coats of the Barry M black nail varnish.
3. Wait for them to dry fully, then randomly place some white dots ( I used the brush, I didn't use a special dotting tool or anything)
4. Then slowly peal the sellotape off in an upwards motion.
5. And finish with a clear top coat! VoilĂ !


You Might Also Like

Related Posts Plugin for WordPress, Blogger...